

A quality pair of hiking boots can withstand even the most treacherous of terrains – and all the water and mud that comes with them. But as strong and durable as they may be, they need to be looked after to keep them in great condition for years to come.
Taking the time to show them some care and attention will do wonders to extend the life of your trusty walking boots. Regular cleaning and reproofing not only means that they’ll look great, but also that the tread, waterproofing and breathability will be in the best condition for your next adventure.
To help you get the most out of your footwear, we’ve created a guide to show you how to clean walking boots, reproof them, and keep them smelling fresh.

Instead, give the soles a quick scrub after each wear to prevent debris from building up and reducing the tread. Only clean the boot every few months to maintain the breathability of the fabric.
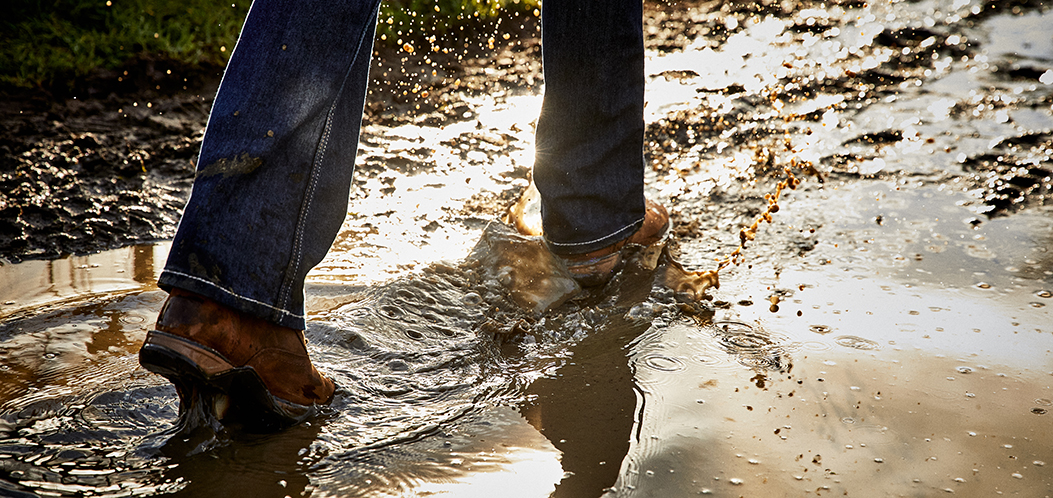
One way to stay on top of your boots between washes is to gently tread though a small puddle at the end of your hike. This can help to wash off any fresh mud. Finish by wiping your soles on a patch of grass.
Start by giving them an initial brush down to remove as much excess dirt as possible; use a semi-stiff bristled brush for this as it’ll help to dislodge the caked-on mud.
You can give the laces a wash by leaving them to soak in warm, soapy water before scrubbing them with a soft-bristled brush. Wring them out and leave them to air dry while you clean the rest of your boots.
3. Scrub the outside of the boot with water
If there are lots of stones and mud stuck in the grooves of your soles, try using an old toothbrush to dislodge them. Once these have been removed, you’ll find that your boots have a much better grip when you’re walking.

Shop the Meindl Mens Kansas GTX Boot for waterproof and breathable wear.
When scrubbing your leather boots with a damp brush, give the brush a shake after dipping in the water to expel any excess droplets. Try to keep your boots as dry as possible, only using a touch of water as needed to loosen the mud.
Keep a dry cloth on hand while you scrub and use it to soak up the water from the boot if it gets too wet.
This can help to remove the mud without the need to use more pressure as you scrub, which can damage the surface of the leather.
To keep it soft and supple, it’s strongly recommended you condition your leather boots. This can be done with a leather wax, cream, or conditioner.
Make sure the boots are clean and dry before applying a small amount using a clean cloth. Buff the product into the fabric in circular motions.
Evenly polish the leather conditioner all over the boot, taking extra care to cover any small grooves or creases. Let the first layer dry before topping up with a second thin layer.

The Dubarry Footwear Gel Cleaner helps remove dirt and prepares leather for conditioning and proofing. Shop here.
Letting your boots dry completely is especially important if you’re planning to store them away for a while.
Make sure you reach into all the crevices where water can build up when you’re washing them, as these areas can take longer to dry.
Instead, let them air dry in a well-ventilated warm spot, away from direct sunlight, or preferably outside.
Stuff a dry cloth or paper towels into your boots to draw out the water. Keep an eye on them and replace the paper or cloth when it’s saturated. Filling the inside with something can also help your boots to retain their shape as they dry.
To prolong the life of your hiking boots, it’s worth reproofing them every now and again. A good way to spot when they’re in need of a reproof is when the material starts to absorb water instead of it trickling off the surface of the boot.
Let them completely dry before applying a water-proof treatment.
After you’ve conditioned your leather boots, let the product dry completely for a few days before you use a waterproofing product.
Follow the manufacturer’s instructions when applying an even layer across the surface of your walking boots.

Shop the Ariat Waterproofer for easy application on all types of footwear.
If your hiking boots are in need of a refresh but aren’t dirty on the outside, avoid giving them a deep clean to preserve the waterproof coating.
Instead, try these methods for deodorising the inside of your boots:
Spray it inside your boots and leave it to dry overnight before your next wear.

The Grangers Odour Eliminator instantly refreshes footwear without damaging delicate or treated surfaces. Shop here.
Discover all men’s and ladies footwear, or, shop our full range of product care accessories to keep your shoes in brilliant condition.
Taking the time to show them some care and attention will do wonders to extend the life of your trusty walking boots. Regular cleaning and reproofing not only means that they’ll look great, but also that the tread, waterproofing and breathability will be in the best condition for your next adventure.
To help you get the most out of your footwear, we’ve created a guide to show you how to clean walking boots, reproof them, and keep them smelling fresh.
How to clean synthetic walking boots
Keeping your boots cleaner will help them to last longer, but that doesn’t mean you should wash them every time they get dirty. Cleaning your boots too often can wear away their waterproof coating, drastically reducing their lifespan.Instead, give the soles a quick scrub after each wear to prevent debris from building up and reducing the tread. Only clean the boot every few months to maintain the breathability of the fabric.
One way to stay on top of your boots between washes is to gently tread though a small puddle at the end of your hike. This can help to wash off any fresh mud. Finish by wiping your soles on a patch of grass.
1. Brush off any excess dried dirt
Dried mud is easier to remove than wet mud as it comes off in solid pieces, so make sure that your boots are completely dry to touch before you tackle them.Start by giving them an initial brush down to remove as much excess dirt as possible; use a semi-stiff bristled brush for this as it’ll help to dislodge the caked-on mud.
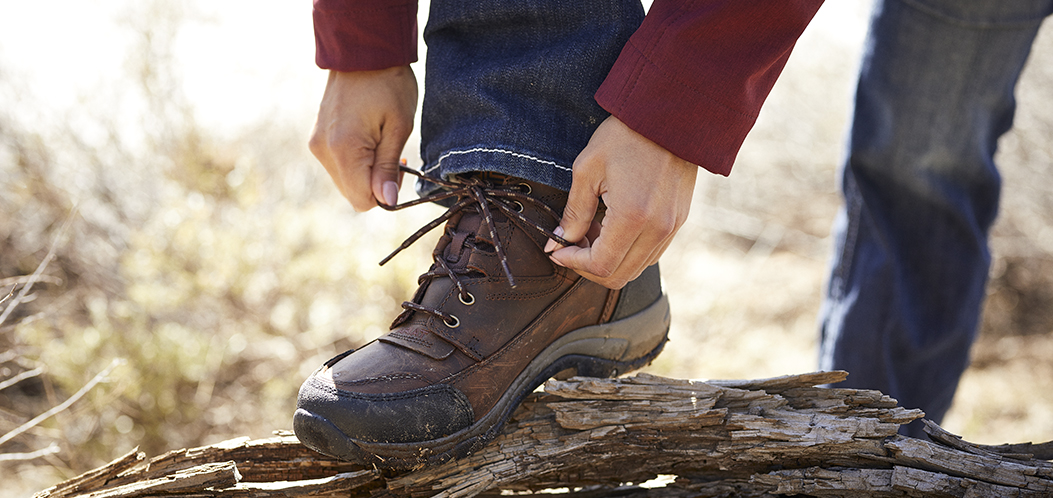
2. Remove and wash the laces
Next, remove the laces from your walking boots. This will help you to get into all the nooks and crannies more easily.You can give the laces a wash by leaving them to soak in warm, soapy water before scrubbing them with a soft-bristled brush. Wring them out and leave them to air dry while you clean the rest of your boots.
3. Scrub the outside of the boot with water
Switch to a softer brush to give your boots a deep clean as harder bristles may cause damage to the material.
Try to avoid completely submerging or soaking your boots in water and steer clear of standard laundry detergents, as they can wash away the waterproof coating on your shoes. Instead, dip your brush in warm water and gently scrub the dirt off your boots in circular motions. Continue to dip your brush in the water as you clean to remove the dirt from the brush and to keep the bristles slightly damp.
4. Scrape mud and stones from the soles
To clean the soles of your hiking boots, swap back to your semi-stiff brush to scrub off the accumulated mud. The material on the bottom of the shoe will be sturdier than the rest of the boot, so you can use a stronger pressure here.If there are lots of stones and mud stuck in the grooves of your soles, try using an old toothbrush to dislodge them. Once these have been removed, you’ll find that your boots have a much better grip when you’re walking.
5. Finish with a wipe using a damp cloth
After you’ve cleaned all the dirt from your boots, take a damp rag and wipe off any residual dirt from the shoes. This should remove any lingering mud stains and soak up any excess water from when you cleaned with the softer brush before.Shop the Meindl Mens Kansas GTX Boot for waterproof and breathable wear.
How to clean leather walking boots
Leather walking boots require a little extra care when cleaning. This is because the material can be highly susceptible to losing its shape and structure if not looked after correctly.1. Avoid over-soaking the material
Leather is less water-resistant than normal walking boot fabrics, so you’ll need to use less water when cleaning.When scrubbing your leather boots with a damp brush, give the brush a shake after dipping in the water to expel any excess droplets. Try to keep your boots as dry as possible, only using a touch of water as needed to loosen the mud.
Keep a dry cloth on hand while you scrub and use it to soak up the water from the boot if it gets too wet.
2. Use a specialist leather cleaner
If your leather walking boots need a little helping hand to clean the mud off, try using a specialist leather cleaner.This can help to remove the mud without the need to use more pressure as you scrub, which can damage the surface of the leather.
3. Skip the hard brush
When cleaning leather hiking boots, use a soft-bristled brush only. This should be used for the initial dry clean and wet clean. A coarse-bristled brush can scratch the leather and cause permanent damage.4. Condition leather boots after cleaning
Leather is a natural material that can be prone to drying out, especially when it’s exposed to a lot of moisture. When this happens, the fabric can eventually crack.To keep it soft and supple, it’s strongly recommended you condition your leather boots. This can be done with a leather wax, cream, or conditioner.
Make sure the boots are clean and dry before applying a small amount using a clean cloth. Buff the product into the fabric in circular motions.
Evenly polish the leather conditioner all over the boot, taking extra care to cover any small grooves or creases. Let the first layer dry before topping up with a second thin layer.
The Dubarry Footwear Gel Cleaner helps remove dirt and prepares leather for conditioning and proofing. Shop here.
How to dry walking boots
Drying your walking boots is just as important as keeping them clean: after all, you don’t want to start your next hike with wet feet before you’ve even reached your trail.Letting your boots dry completely is especially important if you’re planning to store them away for a while.
1. Pat them down with a dry cloth
Straight after washing, give your boots a gentle pat down with a dry cloth or towel. This will help to lift off any lingering surface moisture and speed up the drying process.Make sure you reach into all the crevices where water can build up when you’re washing them, as these areas can take longer to dry.
2. Always let them air dry
When it comes to drying your walking boots completely, always let them air dry. Using a direct heat source like a radiator, tumble dryer or hairdryer can cause the fabric to harden and become brittle.Instead, let them air dry in a well-ventilated warm spot, away from direct sunlight, or preferably outside.
3. Use paper towels or a dry cloth to draw out moisture from the inside
If the inside of your boots is wet, you can try to soak up the moisture to help speed up the drying process.Stuff a dry cloth or paper towels into your boots to draw out the water. Keep an eye on them and replace the paper or cloth when it’s saturated. Filling the inside with something can also help your boots to retain their shape as they dry.
How to waterproof walking boots
Some walking boots will have a waterproof coating applied to them, but this coating doesn’t last forever, and regularly washing your boots can weaken its water-resistant properties.To prolong the life of your hiking boots, it’s worth reproofing them every now and again. A good way to spot when they’re in need of a reproof is when the material starts to absorb water instead of it trickling off the surface of the boot.
1. Always wash your boots before reproofing
Essentially, reproofing adds a protective seal to your boots that repels moisture. Because of this, you’ll want to reproof your boots as the final step after you’ve cleaned them.Let them completely dry before applying a water-proof treatment.
2. Reproof leather boots after conditioning
Using a conditioner or wax on leather boots can give them slight water resistance, but it’s best to apply a separate waterproof coating as well for maximum protection.After you’ve conditioned your leather boots, let the product dry completely for a few days before you use a waterproofing product.
Apply a waterproof coating
The most common waterproofing products come in spray form, which makes for an easy application.Follow the manufacturer’s instructions when applying an even layer across the surface of your walking boots.
Leave to dry
After spraying, leave your boots to air dry completely before your next outing.Shop the Ariat Waterproofer for easy application on all types of footwear.
How to clean smelly walking boots
When cleaning your walking boots, it can be easy to neglect the inside of your shoes as the most visible dirt is on the exterior. But as you walk around in them, bacteria can quickly build up inside. This can lead to unpleasant odours.If your hiking boots are in need of a refresh but aren’t dirty on the outside, avoid giving them a deep clean to preserve the waterproof coating.
Instead, try these methods for deodorising the inside of your boots:
1. Remove and wash the inner sole
Most walking boots will have a removable inner sole. Take these out of the boots and give them a thorough wash and dry in line with the manufacturer’s care guidelines.2. Use a shoe deodoriser
Shoe deodorisers are specifically designed to neutralise and eliminate unwanted odours without damaging the material of your footwear.Spray it inside your boots and leave it to dry overnight before your next wear.
The Grangers Odour Eliminator instantly refreshes footwear without damaging delicate or treated surfaces. Shop here.
Keeping your walking boots in great condition
Investing in a premium quality pair of walking boots is essential for country life and outdoor exploring. Make sure that yours are always up for a challenge by keeping them clean and cared for.Discover all men’s and ladies footwear, or, shop our full range of product care accessories to keep your shoes in brilliant condition.